Big Walk Yellow Tower & Tunnel Guide
Finish Yellow’s five-Head loop, cut the key, open the underground network, and unlock Big Tunnel.
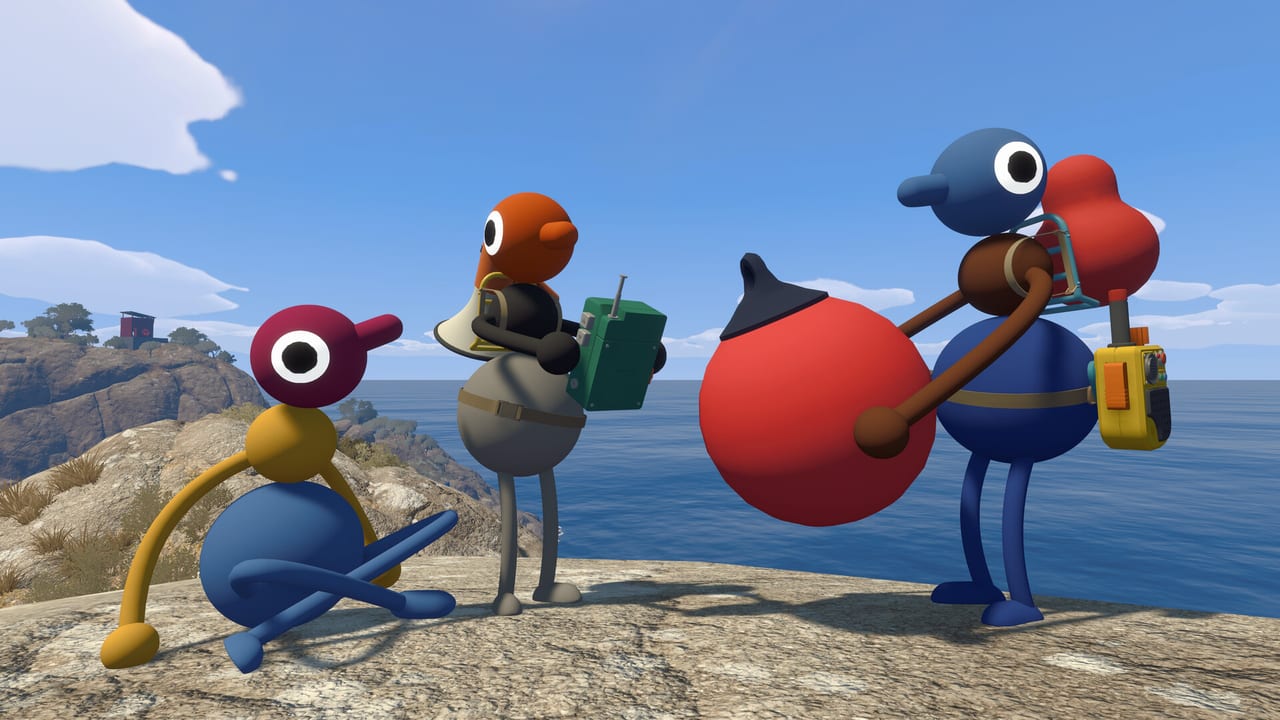
The Yellow Tower opens Big Walk’s underground tunnel network — flatter connectors between distant regions when cliffs and chairlift queues wear everyone down. Most parties tackle Yellow after Green’s chairlift because the upper route shortens the approach. This page covers the Yellow progression pattern, tunnel checkpoints, and the Big Tunnel achievement without listing every room solution.
See also Tower Order, Blue Tower & Train, and Landmarks for underground regroup habits.
Yellow route checklist
- Reach Yellow using the chairlift upper route when possible instead of full ground retracing.
- Visit the five-slot Yellow receiver before starting a scatter hunt.
- Complete practical nearby challenges and return five Heads.
- Shape the blank Yellow key through all cutters — the last station often sits near the tunnel entrance.
- Use the finished key to open the underground network.
- Actually enter the opened tunnel to unlock Big Tunnel.
- Treat tunnels as travel infrastructure for Blue approaches and later cleanup — not as teleports.
What Yellow unlocks (and what it does not)
Yellow’s reward is subterranean routing. Tunnels take real walking time. They still beat scrambling a twelve-player cliff with gourds in hand. Yellow does not start the train — that is Blue — and it does not finish the campaign. You still need Blue, then the late Black Tower / wall / sphere sequence described on Endings.
Community notes place useful tunnel access southeast of Yellow on paper-map coordinate hunts. Use Paper Maps after Red if your lobby is chasing numbered boards near Yellow.
Same tower loop, harder rooms
Yellow follows the colored-tower pattern you already know from Red and Green:
solve useful challenges → recover Heads → fill the receiver → cut the key → unlock the reward.
Yellow rooms are often the hardest cluster so far: longer communication delays, tighter timing, and more equipment dependency. That is why Green-first routing helps — arrive with walkie-talkies, lights, and a backpack plan already practiced.
Hub rules that save evenings:
- Heads are not locked to Yellow-colored buildings; take any valid Head if a local room stalls
- Consolidate early so rewards are not abandoned at puzzle doors
- Keep one permanent key carrier through the full cutter chain
- Do not declare Yellow “done” when the blank key appears — finish cutters and open the tunnel
Using the chairlift approach
From Green’s upper station, agree on a visible Yellow landmark before boarding. Proximity chat dies across long cable spans — assign a walkie pair or a flare schedule for the landing. If half the lobby rides and half climbs, set a meet point at the Yellow receiver, not “somewhere near the yellow thing.”
Night sessions need a dedicated light carrier. Tunnel mouths are easy to walk past when everyone stares at phones between laughs.
Open the tunnel, then prove it
Insert the finished Yellow key at the tunnel unlock point indicated by the final cutter route. Wait for the opening animation. The Hub checkpoint is:
Yellow key completed → Tunnel opened → group can physically enter the underground route.
Big Tunnel unlocks when you enter the opened tunnel — standing outside the locked entrance does not count. Once inside, note distinctive wall colors or props as verbal landmarks; underground proximity voice muffles differently than ridge chat.
Tunnels as mid-game infrastructure
After Yellow:
- Use tunnels to shorten trips toward Blue Tower
- Cache spare tools at memorable underground junctions
- Remember Lost & Found still catches held gear between sessions — see Getting Started
- Optional side routes (including hidden cosmetic / Shiny-style hunts mentioned in community guides) often lean on underground access; treat those as side objectives, not Big Goodbye requirements
For 100% cleanup after the first ending, tunnels also help revisit skipped normal puzzles without climbing every cliff twice — Endings.
Troubleshooting
| Problem | Fix |
|---|---|
| Receiver empty after “five” puzzles | Recover physical Heads from sites/backpacks |
| Key fits nothing / tunnel closed | Finish every Yellow cutter; last one may sit at the entrance |
| Big Tunnel missing | Enter the opened tunnel; do not stop at the threshold |
| Party split underground | Flare at junctions; walkie check-ins every short segment |
| Wrong mountain entirely | Return to Map Room flags before forcing Yellow puzzles |
Party workflow for a Yellow night
- Meet at Map Room; confirm Yellow is tonight’s color.
- Ride Green’s lift with a named landing plan.
- Assign navigator, key carrier, and light.
- Bank three Heads before the nastier split rooms.
- Cut the key as a group; insert together.
- Walk into the tunnel once, trigger Big Tunnel, then decide whether to push Blue the same night.
Yellow is the “make the island smaller” unlock. Open it after Green, use it ruthlessly, and save your knees for the jokes instead of the cliffs.
Frequently Asked Questions
Quick answers to the most common Big Walk questions.
What does Yellow Tower unlock?
The underground tunnel network connecting regions with flatter paths. It does not activate the train.
How do I unlock Big Tunnel?
Finish the Yellow key route to open the tunnel, then physically enter the opened underground route.
Should Yellow come before Green?
Most groups prefer Green first so the chairlift shortens the Yellow approach. Swap only if tunnels are your party’s fantasy.
How many Heads does Yellow need?
Five Heads at the Yellow receiver, then a complete cutter chain for the tunnel key.
Are tunnels required for the main ending?
Yellow is part of the four colored towers expected before the late Black route. The tunnels also help travel during cleanup.