Best Tower Order in Big Walk
Which colored tower to finish first — and what each unlock actually does for your hiking party.
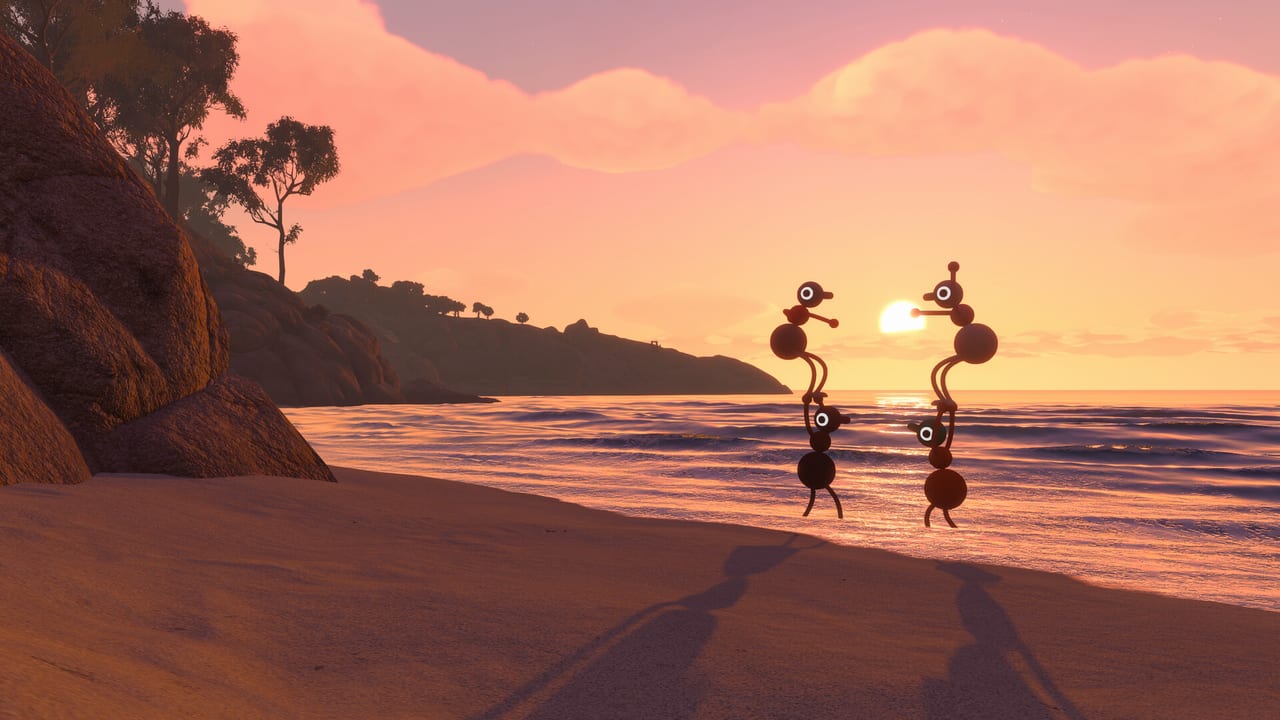
Big Walk’s island is unlocked by four colored towers. Each tower asks your party to deliver five red gourd-shaped collectibles earned from cooperative challenges, then follow a short key-and-lock sequence that turns on a major quality-of-life reward. There is no mandatory sequence after the tutorial area — you can stumble into Green before Red — but unlock priority changes how painful the middle hours feel. This guide recommends a practical order for most co-op groups of two to twelve without dumping full puzzle solutions.
Pair this page with Map Hub for navigation habits, Map Room & Paper Maps once Red is done, and Challenges & Puzzles when you need spoiler-light puzzle roles. Inventory helpers that make gourd runs easier live on Backpacks & Bags.
Recommended order at a glance
| Priority | Tower | Main unlock | Why now |
|---|---|---|---|
| 1 | Red | 3D island map / map room | Tracks landmarks, towers, blue backpack buildings, and which red gourds you already found |
| 2 | Green | Ski lift | Fastest mountain travel; near a dual-gourd holster under a glowing balloon |
| 3 | Yellow | Underground tunnel network | Flat connectors between regions when cliffs get exhausting |
| 4 | Blue | Island train | Scenic one-way loop — fun, slower, optional early |
You still need all four towers to finish the handcrafted campaign. The table only decides when each convenience arrives.
How towers work
After the starting zone and drawbridge puzzles open the wider island, colored towers act as progression hubs:
- Complete challenges to earn red gourd collectibles.
- Carry five gourds to a tower and place them in the compartments at the top.
- Take the resulting key through a short sequence of keyholes around that mountain.
- Insert the finished key at the tower’s reward station to power the unlock.
Gourds are physical. Hands are limited. That is why backpacks, waist bags, and the Green-area holster that holds two red items matter — see Backpacks & Bags. Host progress owns which towers are already lit, so guests rejoining tomorrow inherit the host’s unlocks — Host Saves Explained.
1. Red Tower — do this first
Most parties hit Red soon after the tutorial nudge. Completing it unlocks the huge 3D map and map-room workflow that marks:
- Major landmarks and other colored towers
- Blue circular buildings that hold backpacks and waist bags
- Which red gourds you have already submitted
Without that map, gourd hunting becomes a memory game across fog and forests. Red is the only unlock that improves planning rather than travel speed. Even groups who love wandering should treat Red as session-two priority if they skipped it on night one.
After Red, fold paper maps and compass habits into every regroup — Paper Maps — and agree on landmark names before chasing Green.
2. Green Tower — ski lift QoL
Green powers the ski lift that crosses the mountains hosting Green and Yellow and reaches northwestern corners without endless cliff climbing. For groups that hate elevation, Green is the biggest quality-of-life jump after Red.
Near Green, look for a glowing balloon object in the forest. Under it sits a holster that can hold two red collectibles on you or on a backpack. Grabbing that accessory early turns later five-gourd deliveries into fewer trips.
Ski-lift stations also sprinkle challenges along the line. Use the lift to ferry gourds, not only tourists. Assign one rider to call stations over walkie-talkie while ground teams climb — Walkie-Talkie.
3. Yellow Tower — tunnels
Yellow opens the underground tunnel system linking regions with flatter paths. Tunnels are not teleports; they take real walking time. They still beat scrambling cliffs with twelve people, especially when someone is carrying a fragile puzzle timer or a stack of gourds.
Prioritize Yellow third because the tower sits farther out — Green’s lift makes the approach less miserable. Tunnel fans can swap Yellow ahead of Green if your party already loves caves and hates ski-lift waiting.
4. Blue Tower — the train
Blue restores the train looping the island. It is slow, one-directional, and easy to miss your stop. Many parties barely use it after the novelty ride. Still finish Blue before the ending — the campaign expects all four tower keys.
Bump Blue earlier only if your friend group’s fantasy is riding trains together more than optimizing travel. Big Walk is allowed to be inefficient if that is the joke your lobby wants.
Flexible swaps
Swap Green / Yellow / Blue freely once Red is done:
- Mountain haters → Green first
- Claustrophilic shortcut hunters → Yellow earlier
- Train romanticists → Blue whenever you feel like it
- Large 8–12 lobbies → Green sooner so subgroups can relocate without twenty-minute hikes
Never swap Red later unless you enjoy getting lost for sport — Landmarks & Getting Unlost.
Party workflow for tower nights
- Meet at map room (after Red) and pick tonight’s tower color.
- Assign gourd carriers, a navigator, and a scout with binoculars.
- Keep at least one walkie-talkie and one flare kit active before splitting for challenges.
- Deliver five gourds together — do not leave one friend alone on the tower roof with three missing items.
- Run the key sequence as a group so nobody soft-locks waiting at the wrong keyhole.
- Celebrate the unlock, then update the physical map before chasing the next color.
Crossplay parties on Steam, PS5, and Switch 2 should confirm Join Codes before the gourd hunt — Crossplay Platforms.
Spoiler boundaries
This page names unlock rewards and a recommended sequence. It does not list every challenge solution or exact gourd spawn. If your party wants discovery intact, read only the priority table, then close the wiki until you finish Red.
For communication habits that make tower nights smoother, skim Tips & Tricks and Proximity Chat. For tool loadouts sized to your lobby, open the Party Prep Planner.
Related reading
- Map Hub — navigation philosophy without GPS
- Paper Maps — map room and cooperative inventory
- Backpacks & Bags — how to carry gourds and gadgets
- Challenges — scout-and-anchor puzzle roles
- Getting Started — first-hour checklist before tower hunting
Finish Red early, ride Green soon after, treat Yellow and Blue as preference, and remember every tower still waits for five red gourds and a patient party.
Frequently Asked Questions
Quick answers to the most common Big Walk questions.
Is there a required tower order in Big Walk?
No fixed order after the tutorial. Red first is strongly recommended because it unlocks the 3D map; Green, Yellow, and Blue can be swapped by preference.
What does the Red Tower unlock?
The large 3D island map and map-room tracking for landmarks, towers, backpack buildings, and collected red gourds.
What does the Green Tower unlock?
The ski lift for mountain travel. A nearby dual-gourd holster under a glowing balloon is also worth grabbing early.
How many gourds does each tower need?
Five red gourd collectibles earned from challenges, then a short key sequence at that tower.
Do we need all four towers to finish the game?
Yes. All four colored towers are part of completing the campaign, even if you delay Blue’s train.