Big Walk Tutorial & Drawbridge Walkthrough
Return four Heads, finish every cutter, and open the island without soft-locking on a half-cut key.
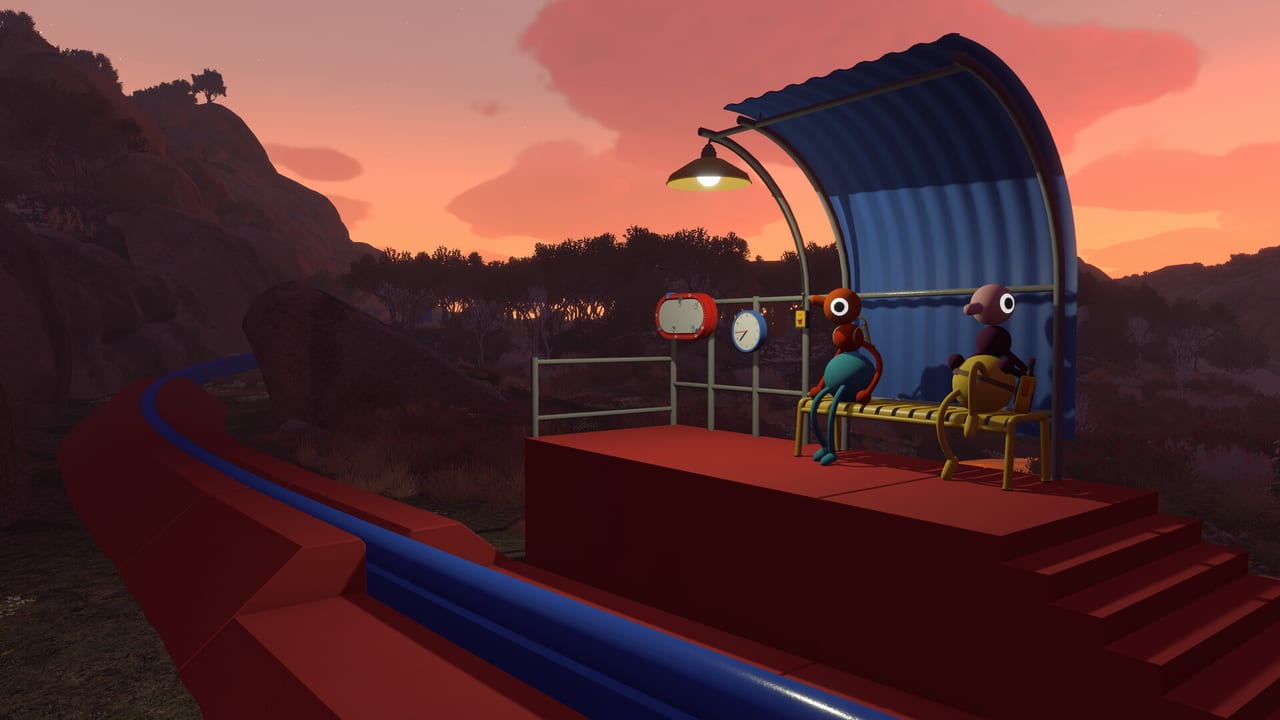
The drawbridge is Big Walk’s first real progression gate. Until it opens, the wider island stays closed and your party is still learning the game’s core loop: solve a challenge, recover a physical Head reward, return it to a receiver, shape a blank key through cutters, then unlock the next landmark. This walkthrough covers the opening route from the tutorial hall to the Big Walk achievement without dumping every later tower spoiler.
Pair this page with Getting Started for lobby setup, Tower Order for what comes after you cross, and Host Saves so the same host owns the opened bridge on night two.
Opening route at a glance
| Step | Checkpoint |
|---|---|
| 1 | Leave the tutorial hall after everyone can sit, carry, and stack |
| 2 | Find the beach four-slot receiver and insert the loose starter Head |
| 3 | Complete three more opening challenges and return every Head |
| 4 | Take the blank key through all cutters on the arrow chain |
| 5 | Insert the finished key, wait for the bridge animation, and cross |
The Host’s chosen world version (2-player, 3-player, or 4+) can add buttons or simultaneous roles inside individual rooms, but the receiver still needs four Heads and a fully shaped key.
Tutorial hall: learn the body language first
Sessions begin in a small indoor hall. Do not sprint outside until every player has tried:
- Walking, running, jumping, crouching, and sitting
- Picking up objects, holding them overhead, throwing, and kicking
- Carrying another player and stacking for high buttons
- Pointing, waving, and basic arm gestures
Those moves show up constantly later. Stacking two players to hit an out-of-reach switch is not a rare trick — it is opening-area vocabulary. Lost & Found on the beige platform stores held and bagged gear between sessions; check it first when a tool vanishes overnight.
Find the beach receiver before the red stairs
Follow the lit path downhill toward the water. The progression landmark is a beach structure with four yellow Head slots. Locked red stairs nearby are not the first objective — they wait for the finished key.
Insert the loose starter Head immediately. That leaves three empty slots and establishes the rule every later tower repeats:
- Each completed challenge releases one Head
- Every Head must be physically returned to the receiver
- The blank key appears only when all slots are filled
A solved challenge does not count if its reward is still sitting beside the building where it dropped.
Practical opening challenges (spoiler-light roles)
Exact room layouts scale with player count. Use roles, not memorized fixed sequences:
Glass enclosure: One player stays on the remote control while another collects the Head behind glass. Keep the mechanism held until the collector confirms the Head is in hand — releasing early is the most common soft fail.
Blue symbol room: One player is sealed inside and describes shapes; the outside player places matching pieces. Agree on short names (lightning, swirl, slash) before starting. Resets can change order — never copy last night’s sequence blindly.
Green building switches: Put one player on each switch and press on a shared countdown. Rapid solo tapping while someone runs into position is less reliable than one clean synchronized press.
Mechanical / reach puzzles: Stack players or split telescope-and-runner duties when a reward hangs out of reach. Keep one person on the control that holds a box open while another grabs the Head.
Deposit a Head whenever the beach is already on your route. Early backpacks are scarce here, so do not try to carry every reward until the end unless you enjoy juggling.
Shape the blank key through every cutter
When all four slots light up, take the blank key. It already looks like a key and may fit into machines, but it is not finished. Carry it to the first cutter on the rocky route above the drawbridge. Each cutter removes another section and points an arrow toward the next station.
Clean habits:
- Insert the key and wait for the shaping animation to finish
- Remove the same key — do not abandon it mid-cut
- Follow that cutter’s arrow immediately
- Repeat until the final cutter no longer sends you onward
Do not test the key at the drawbridge after one or two cuts. A partly shaped key can still fit the mechanism while doing nothing. At night, split roles: one player carries the key, another leads with light.
Community notes sometimes list four or five cutters depending on pathing; treat the arrow chain as the source of truth until no next arrow remains.
Insert the finished key and wait
Return to the red drawbridge mechanism and insert the completed key. Leave it in place for a moment — the extension animation does not always start instantly. Once the bridge extends, cross it to unlock the Big Walk achievement and open the main island. Crossing also creates a shortcut back to the starting area so later sessions do not depend on waiting at the bridge.
Common stuck fixes
| Symptom | Likely fix |
|---|---|
| No blank key after puzzles | Check all four receiver indicators; recover Heads left at challenge sites |
| Glass closes before grab | Keep remote held until collection is confirmed |
| Symbol sequence “wrong” | Reset changed the order — rename shapes and restart |
| Switches pressed, no Head | Reset both controls, confirm prompts, press on one countdown |
| Key fits bridge, nothing happens | Key is partly shaped — finish every cutter on the arrow chain |
| Bridge looks dead with finished key | Leave the key inserted and wait for the animation |
After the bridge
Your next major destination should be the Red Tower and Map Room — Red Tower & Map Room. Use the inactive Train Station as an early regroup point and follow the red blinking beacon. Keep reading Tower Order if your lobby wants the full Red → Green → Yellow → Blue plan.
For communication tools before long splits, skim Walkie-Talkie and Signaling Tools. For inventory once blue buildings open, see Backpacks.
Session planning tips
- Match the Host’s world version to the people actually present. A four-plus room with only two players online creates misery.
- Challenge skip exists for inaccessible interactions — do not use it to paper over a wrong player-count world.
- End the night after the bridge if the group is tired; the Map Room hunt is a better fresh-session goal than a sleepy Red Tower attempt.
The drawbridge teaches everything Big Walk will ask later: physical rewards, cooperative inventory, cutter chains, and patience with animations. Clear it cleanly and the island finally feels like a shared hike instead of a gated lobby.
Frequently Asked Questions
Quick answers to the most common Big Walk questions.
How many Heads open the drawbridge?
Four Heads must be inserted at the beach receiver before the blank key appears. Completing a puzzle without returning its Head does not count.
Why does my key fit the bridge but nothing moves?
The key is still partly shaped. Follow every cutter arrow until the chain ends, then insert the finished key and wait for the animation.
Do larger parties change the tutorial?
The Host’s world version can add buttons or roles inside rooms, but the receiver still needs four Heads and a fully cut key.
What achievement unlocks when we cross?
Crossing the opened drawbridge unlocks the Big Walk achievement and opens the main island route.
What should we do right after the bridge?
Head toward the Red Tower to unlock the Map Room. See the Red Tower guide and the recommended tower order page.