Big Walk Red Tower & Map Room Guide
Return five Heads, finish the Red key chain, and open the island’s most important navigation room.
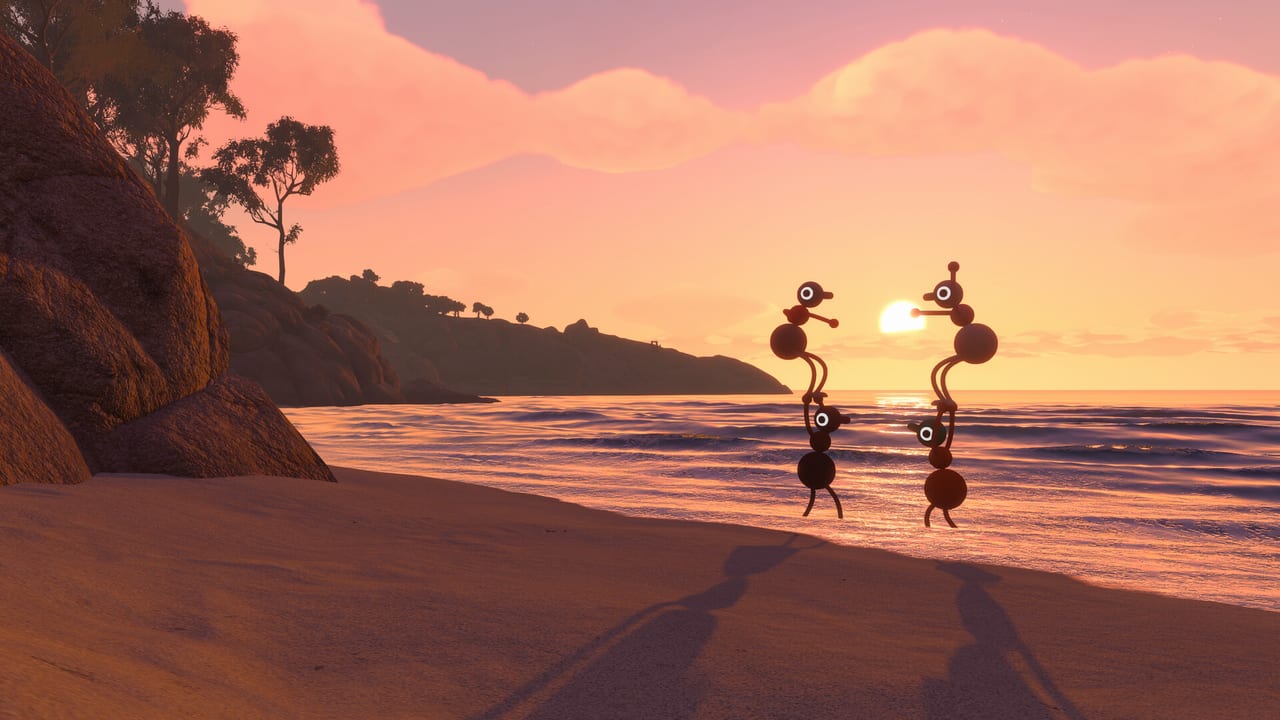
The Red Tower should be your first major destination after the drawbridge. Completing it unlocks the physical Map Room — a giant island model, paper map, compass, and laser pointers that change how every later route feels. This guide covers the Red progression loop, cutter habits, Map Room tools, and the Big View achievement without forcing one fixed list of five puzzles.
Continue with Green Tower & Chairlift once Red is done, or skim Tower Order for the full Red → Green → Yellow → Blue plan.
Red route checklist
- Cross the opening drawbridge and follow the main path through the music area.
- Use the inactive Train Station and the red blinking beacon to locate Red Tower.
- Confirm the receiver has five Head slots.
- Complete nearby challenges and return five physical Heads.
- Take the blank Red key and finish every cutter on the arrow chain.
- Insert the finished key at the upper red entrance to open the Map Room.
- Read the model before grabbing portable tools — then unlock Big View by entering.
Find Red Tower without wandering for an hour
After the bridge, stay on the main path through the outdoor music installation. You do not need to tune every radio. Continue to the inactive Train Station, then keep the red blinking light above the trees in front of you while walking beside the rail route. The rails help with direction but are not a safe walking surface — step beside them when the track blocks your path.
If the group scatters, regroup at the Train Station rather than inventing new meeting points in the dark.
Five Heads, not five mandatory puzzle names
Inspect the receiver before leaving. It needs exactly five Heads. That number tells you when to stop exploring and prevents every nearby toy from becoming “required Map Room progression.”
Nearby challenges commonly used on two-player routes include communication rooms, timed maze handoffs, basketball-style throws, projectile relays, and pose platforms. Any five available Head rewards count — Heads are not locked to the color of the nearest tower. If one room is eating twenty minutes, leave it and take another Head for Red, then return later.
Remember: finishing a puzzle is not enough. Recover the physical reward and insert it. If the receiver count does not change after a success, check the reward site, backpacks, and last equipment stop.
Return after three Heads
A two-player group should consolidate after three rewards. Inserted Heads cannot be lost in the dark, and the remaining challenges often need free hands for walkie-talkies or lights. Trying to juggle five loose progression objects plus radios is how gourds roll down cliffs.
Workflow:
- Cache optional tools at recognizable structures
- Return three Heads early
- Finish the last two challenges with lighter loadouts
- Go straight back to the receiver with the fifth Head — no side trips
Backpacks help but are not required for Map Room unlock. See Backpacks once blue buildings are reachable.
Cut the Red key completely
Five filled slots release a blank Red key — they do not open the Map Room by themselves. Assign one permanent key carrier. The second player handles light and reads cutter arrows. Do not toss the key near cliffs or leave it at the Train Station “for later.”
Each cutter changes the key and points to the next station. Wait for the animation, then follow that arrow even if the path crosses familiar ground. A familiar landmark does not mean the key is finished. Continue until the shaped key reaches the upper red entrance above the Map Room.
Open the Map Room and earn Big View
Climb to the upper red entrance and insert the finished key. The door opens onto a large physical model of the island rather than a menu map. Entering unlocks Big View.
Before picking up portable tools, look over the model:
- Towers mark major Head-return objectives
- Rail lines and later transport routes show how regions connect
- Challenge sites show completion state
- Blue backpack buildings become easier to plan around
Blue flags on the model mark completed challenge sites. Empty flagpoles still need attention. Use that distinction during cleanup instead of walking every structure from memory.
Portable map, compass, and laser — pick one job
The fold-out map is a physical item, not GPS. It does not place a live player marker. Locate yourselves by combining a nearby tower/rail/coast, the map section shown in the corner, and a compass direction or coordinate board.
Carry what solves the next trip:
| Tool | Best use |
|---|---|
| Portable map | Multi-region routes and coordinate puzzles |
| Compass | Holding one direction across open terrain |
| Laser pointer | Marking a distant platform another player cannot identify |
Leave the rest behind when hands are needed for lights, walkie-talkies, or Heads. Deeper cartography habits live on Paper Maps.
Common Red Tower failures
| Problem | Fix |
|---|---|
| Five Heads in, Map Room still locked | Finish all Red cutters; the receiver only awards the blank key |
| Empty receiver slot after five puzzles | Recover the missing physical Head from the last site or backpack |
| Cutter route feels circular | Follow the arrow on the current station after each cut finishes |
| “Map is broken” / no player pin | There is no live marker — match landmarks to the page section |
What Red does not unlock
The Map Room does not start the Train or Chairlift. Those need Green Tower and Blue Tower keys. Red only gives navigation power — which is exactly why it belongs first on Tower Order.
After Red, update your party plan at the model, assign a navigator, then push Green for the ski lift. Keep Landmarks bookmarked for regroup habits when the island suddenly feels twice as large.
Red Tower is the planning unlock. Treat the Map Room as a decision table, not a souvenir stop, and every later tower night gets shorter.
Frequently Asked Questions
Quick answers to the most common Big Walk questions.
How many Heads does Red Tower need?
Five physical Heads at the Red receiver. Any nearby Head rewards can count — they are not locked to one fixed puzzle list.
Does inserting five Heads open the Map Room?
No. Five Heads produce a blank key. You must finish the Red cutter chain and use the finished key at the upper red entrance.
What achievement is tied to the Map Room?
Entering the physical Map Room unlocks Big View.
Does the portable map show my live position?
No. Match nearby landmarks to the map section and use a compass or coordinates for direction.
Does Red unlock the train or chairlift?
No. Red unlocks navigation tools only. Green activates the chairlift; Blue activates the train.